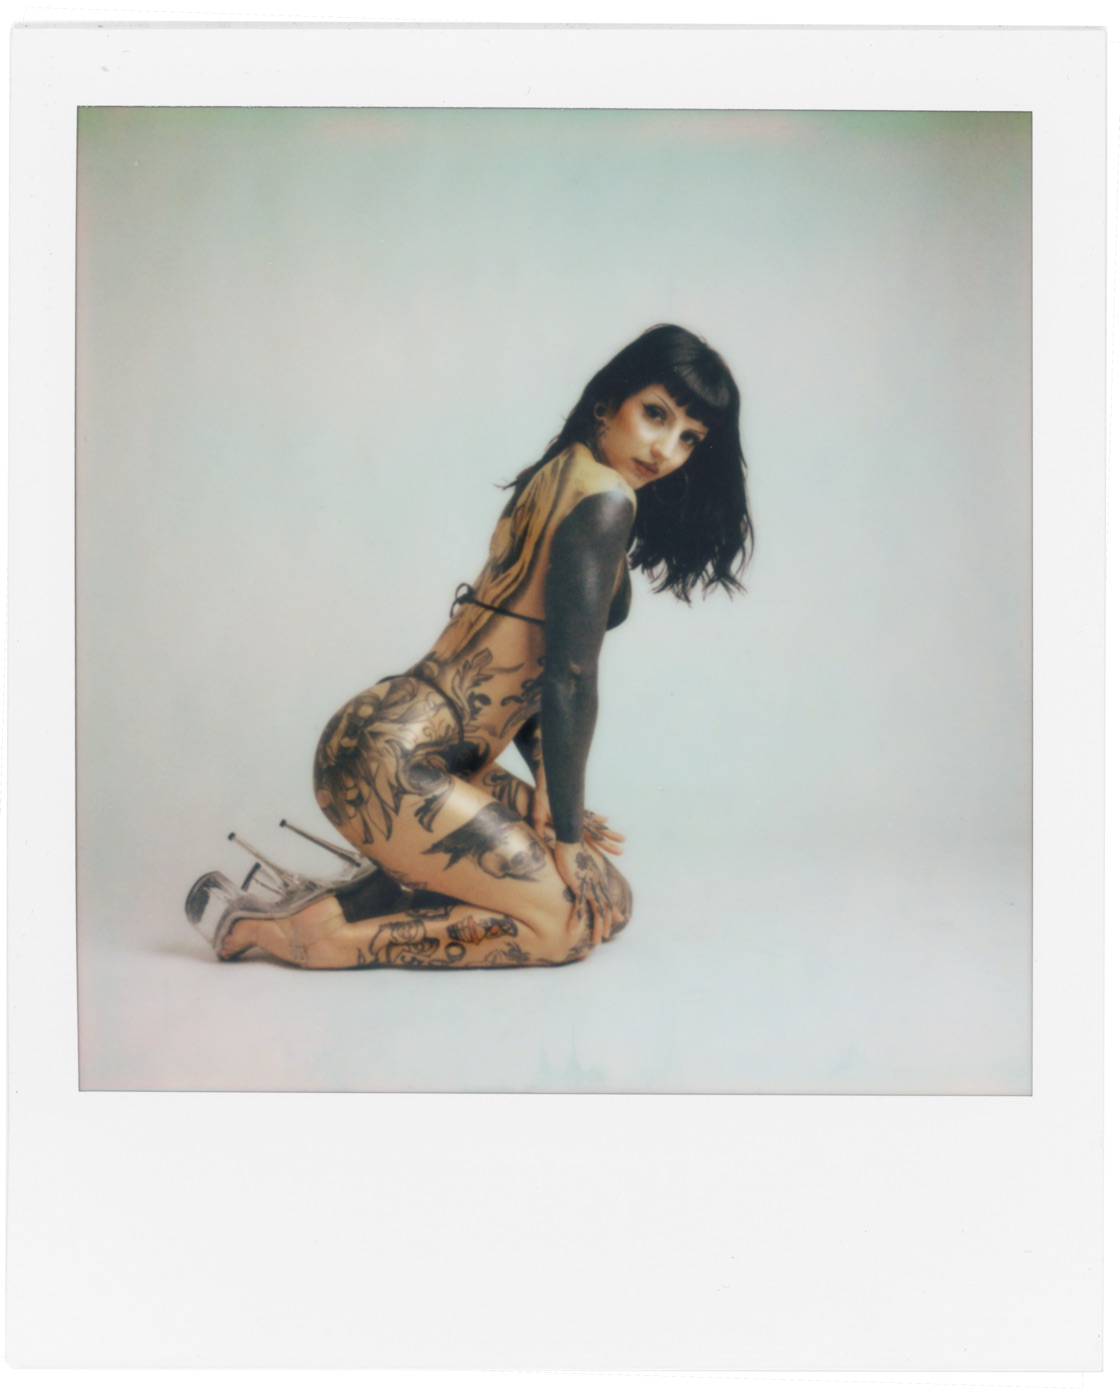
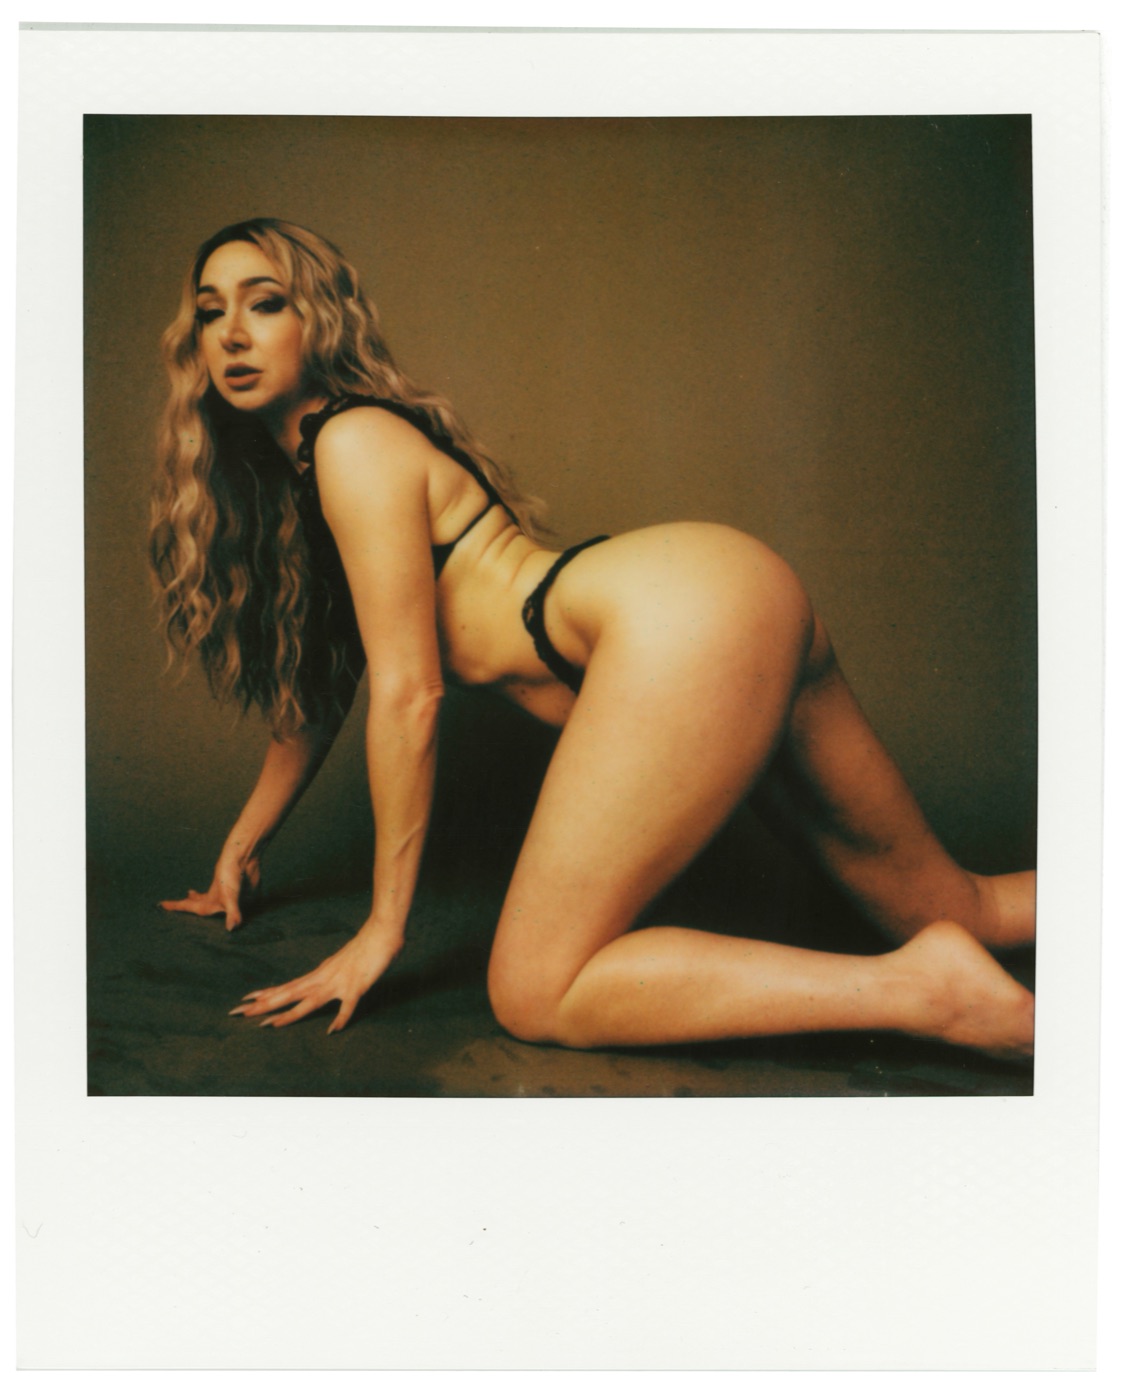
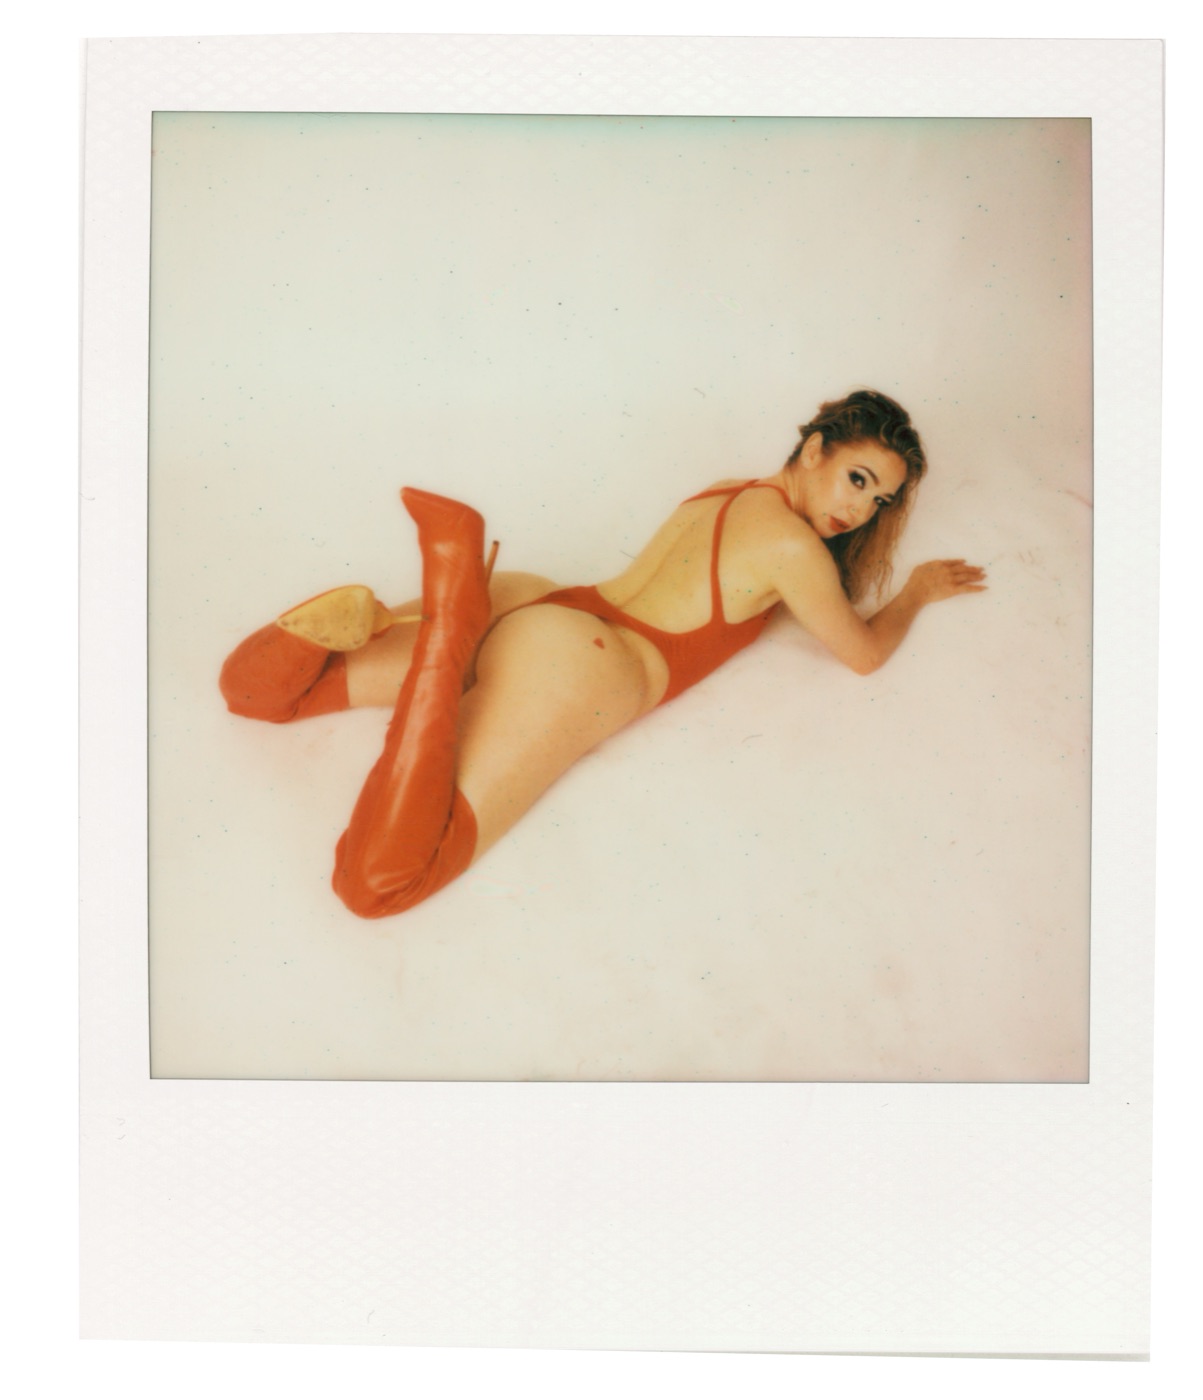
Why flash an instant camera at all
The Polaroid I-2 has a genuinely good manual mode, but instant film is slow and unforgiving — roughly ISO 640, with very little exposure latitude. In a studio, the built-in flash isn't enough and the modeling lights alone are too dim for a clean frame. Firing our actual studio strobes off the I-2 gives the instant shot the same light shaping as the digital frames from the same session, so the Polaroid a client walks out with looks like it belongs with the gallery they get a week later.
The whole trick is getting the camera to talk to the lights, and then not guessing at exposure. Two problems, two simple fixes.
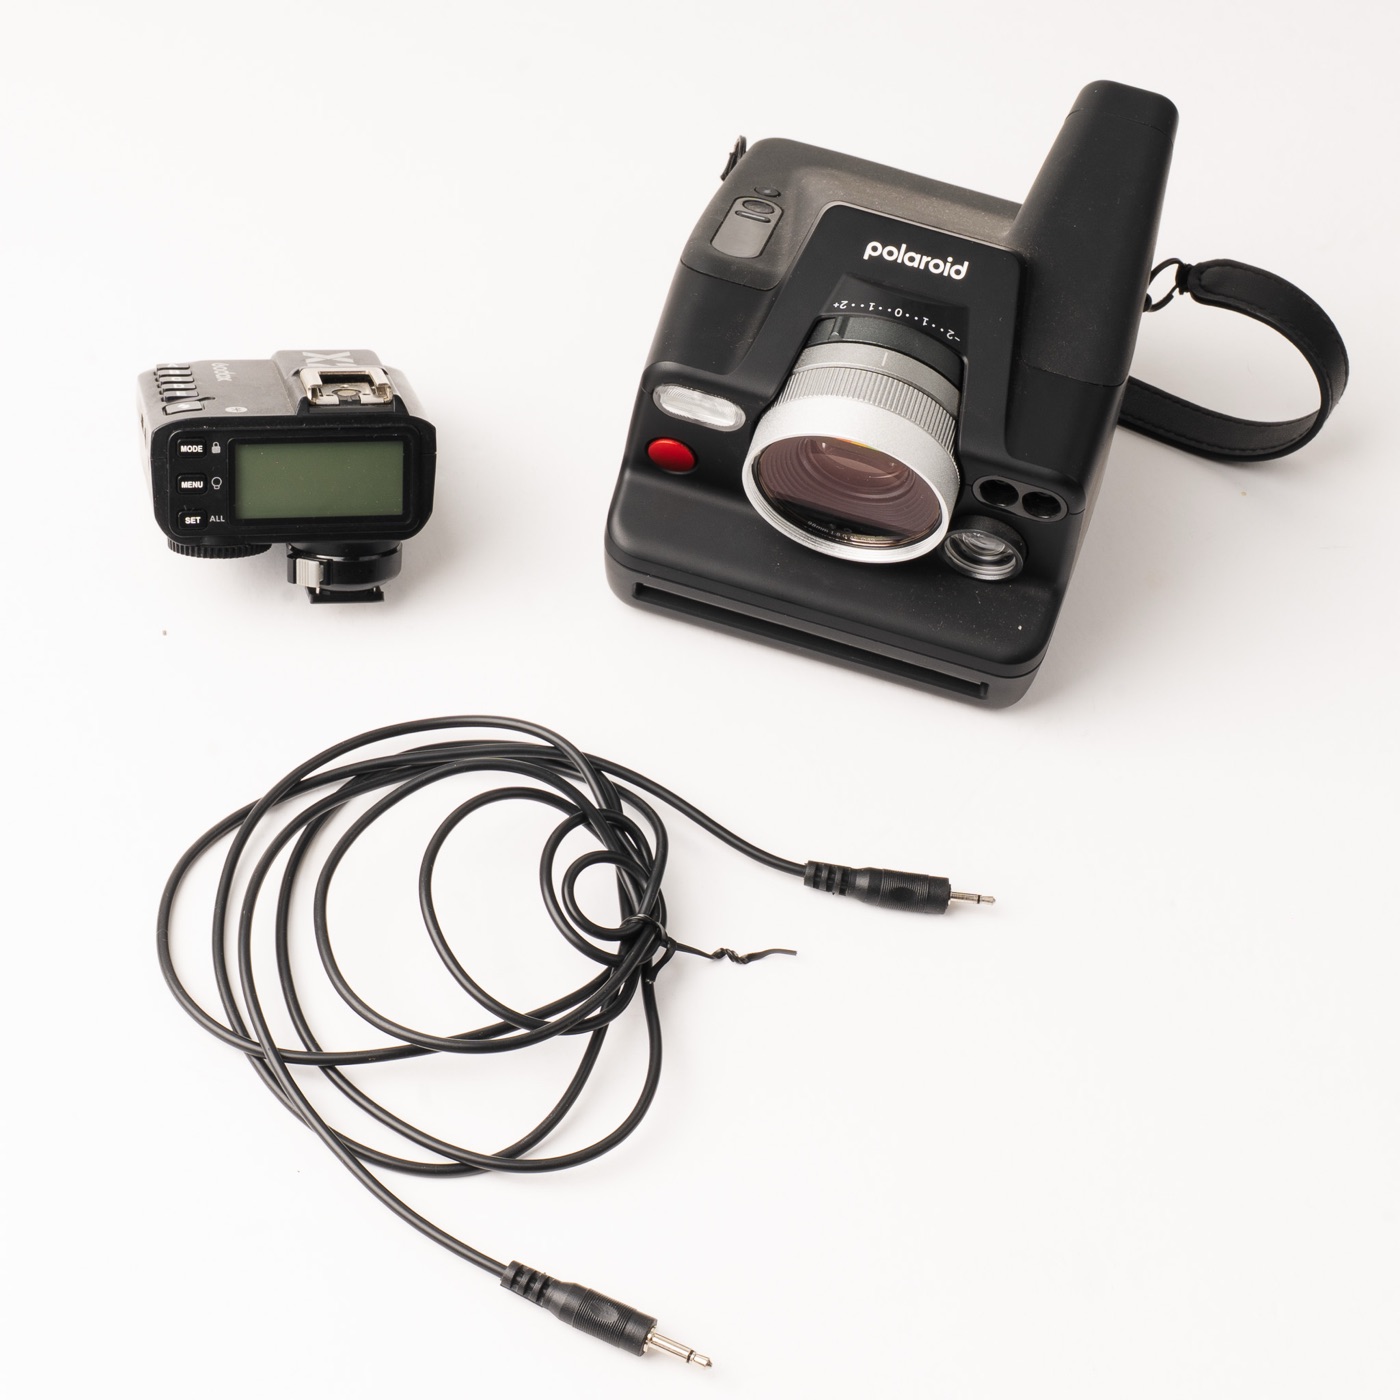
The one cable that makes it work
The I-2 has a flash sync port on the bottom edge, next to the USB-C. It is a 2.5 mm mono jack — smaller than the 3.5 mm sync port on most flash triggers. So the cable you need is a plain 2.5 mm-to-3.5 mm sync cable, with the small end at the camera:
- Camera end → 2.5 mm mono (TS). Into the I-2's sync port.
- Trigger end → 3.5 mm mono (TS). Into the sync / PC port on the trigger. We use a Godox X2T, but any trigger with a sync port works — Godox, Flashpoint, PocketWizard, a plain optical/PC trigger, whatever fires your lights.
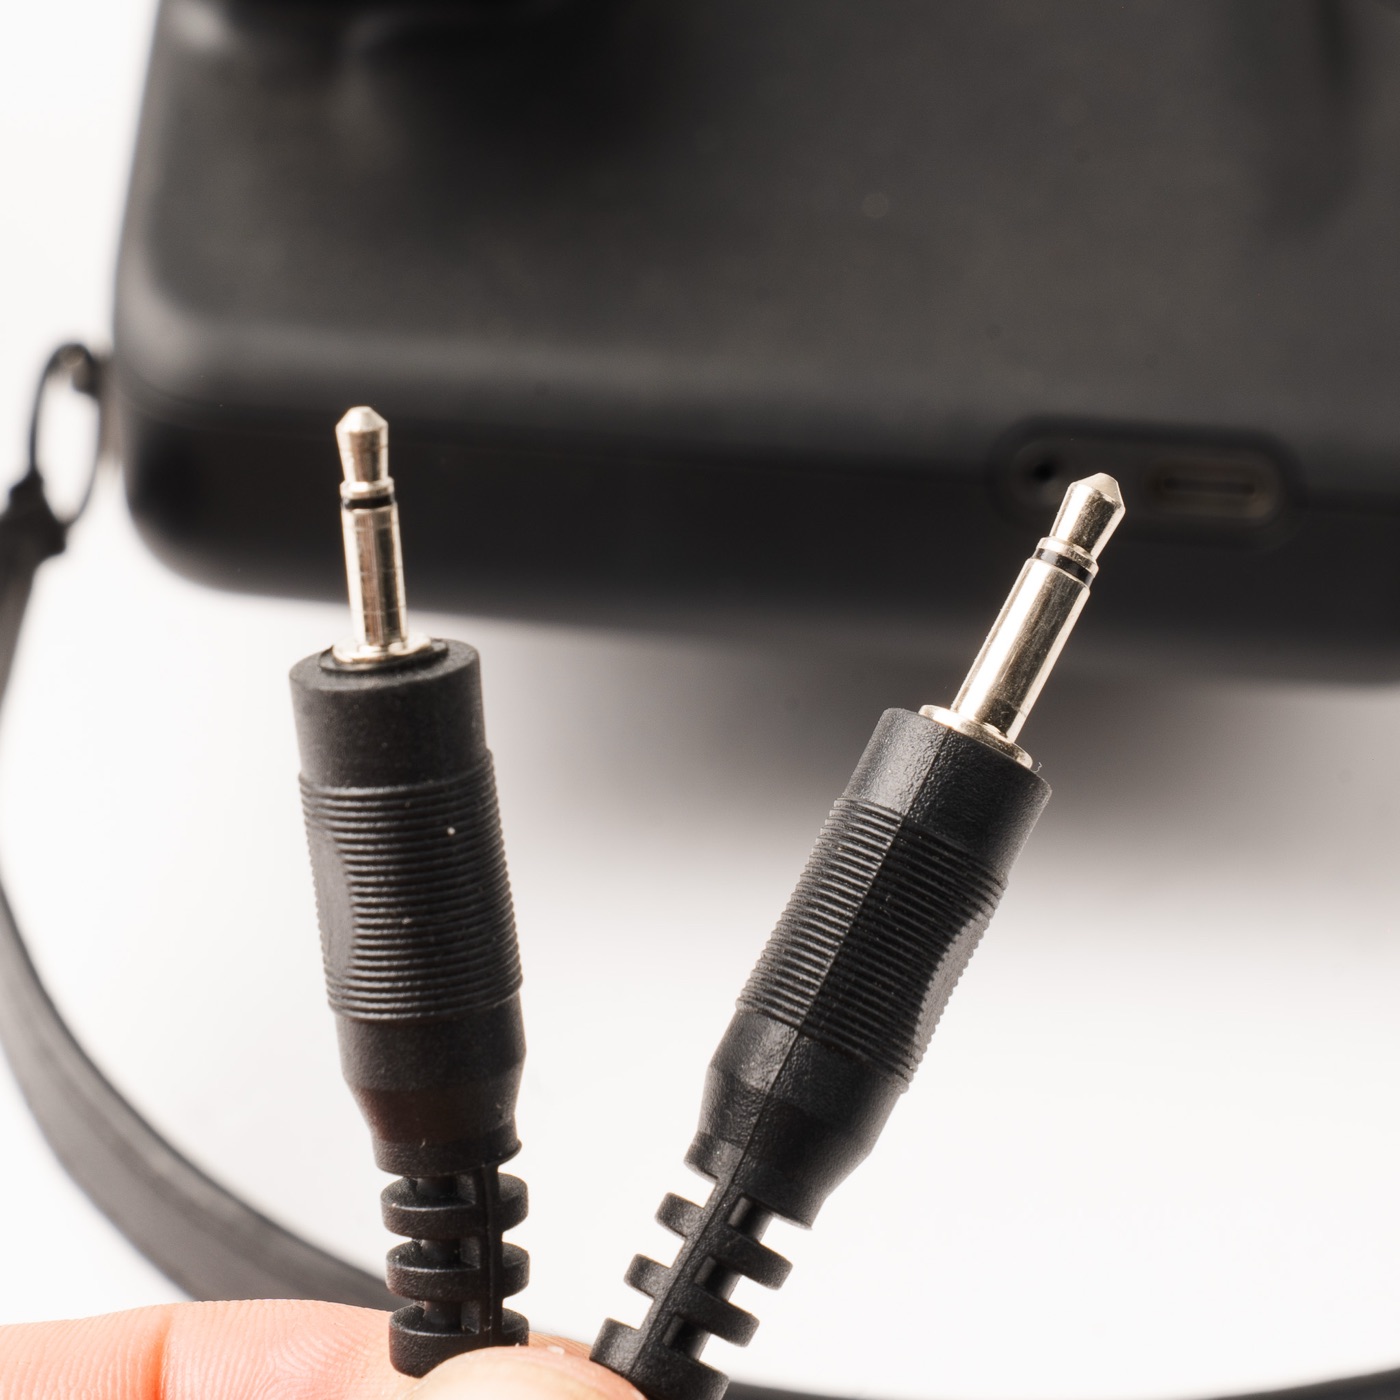
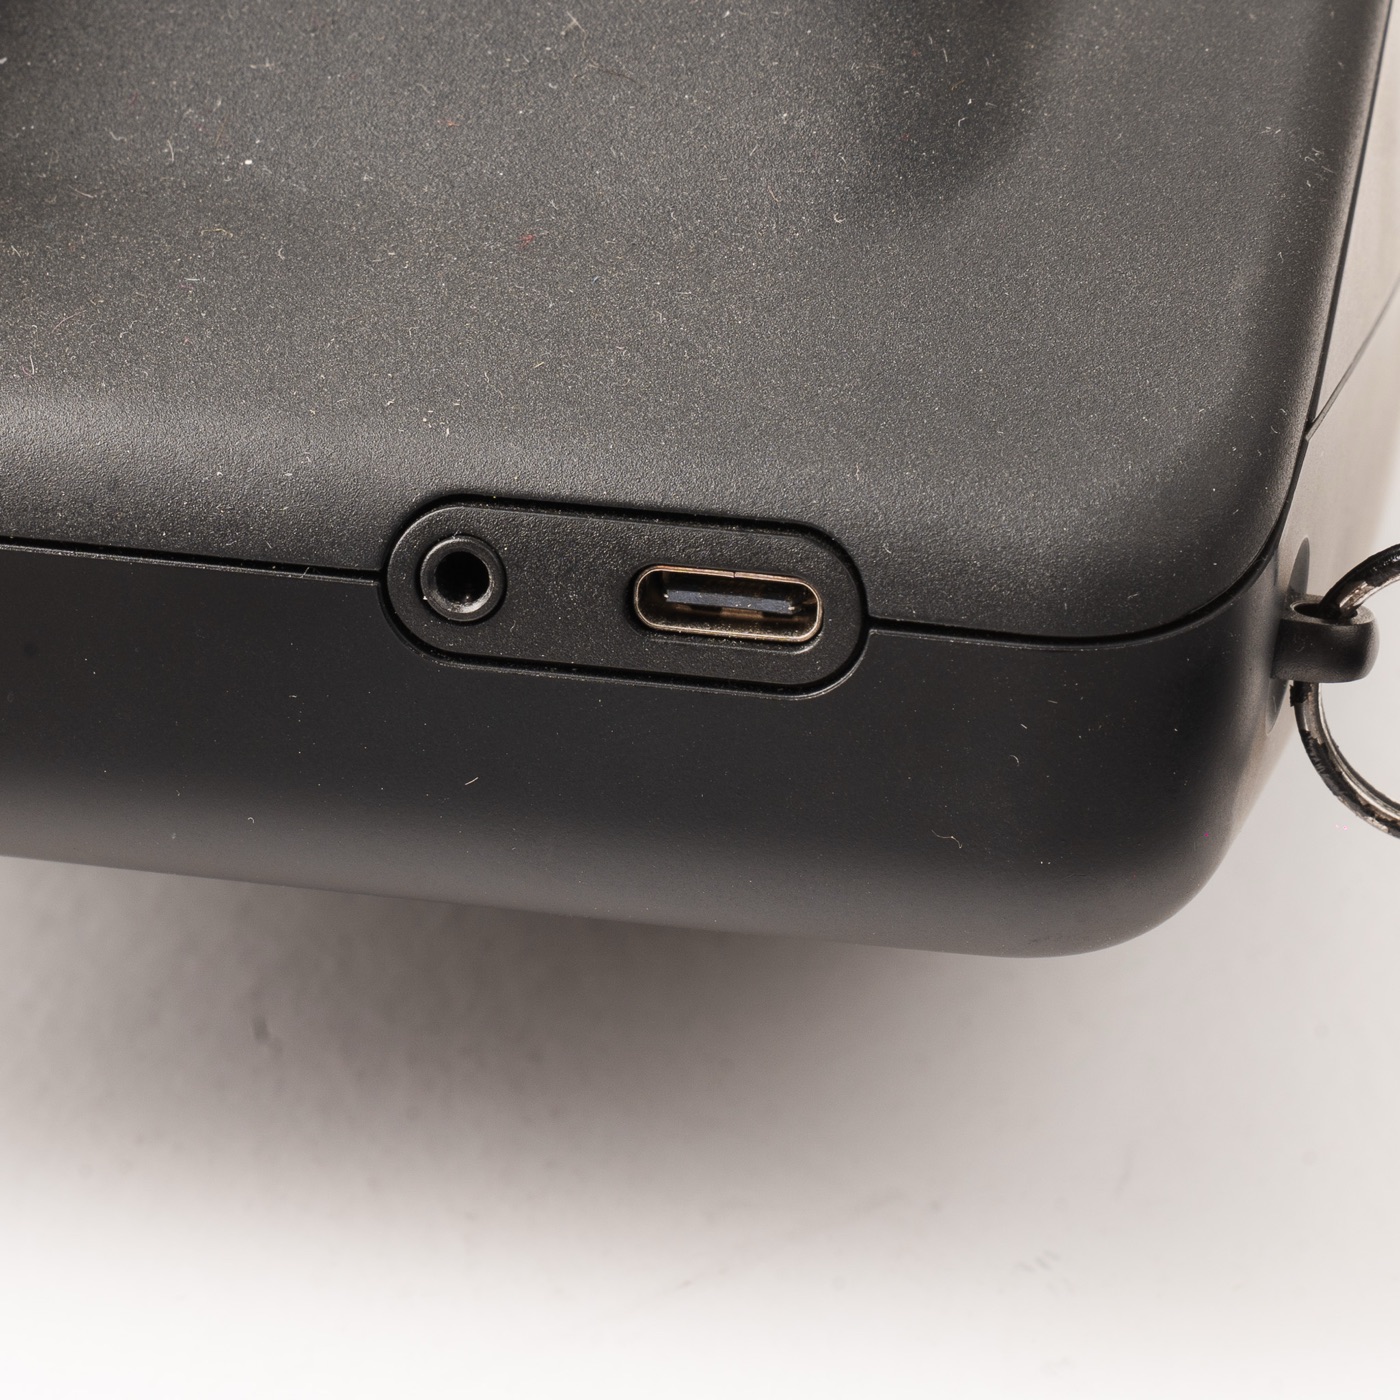
Nothing smart travels down this cable. There's no TTL, no auto power — it's a dumb contact closure that fires the lights the instant the shutter opens. Everything is set by hand, which is exactly what you want for consistency across a set.
Mounting the trigger
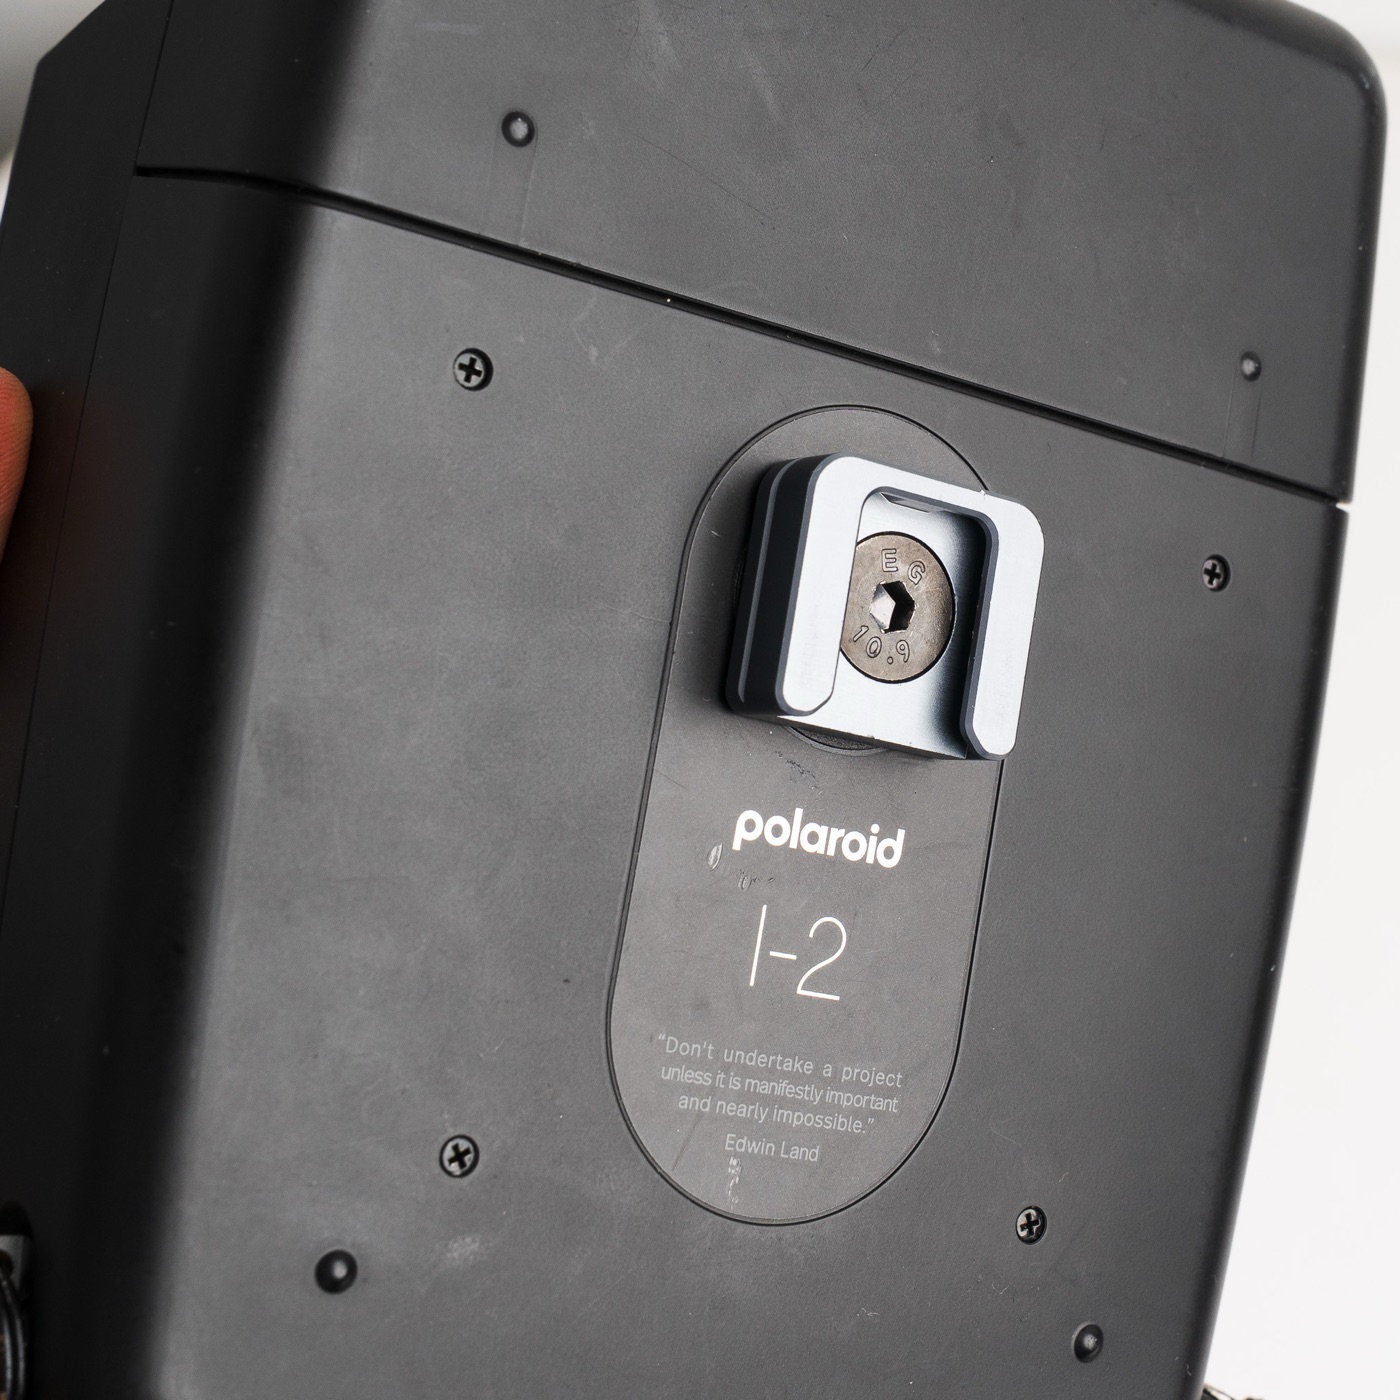
The I-2 has no hot shoe, so the trigger can't sit on top of the camera. Two options that work:
- A cold-shoe bracket threaded into the I-2's tripod socket (ours is a Kondor Blue). The trigger rides just under the body and the cable runs a few inches to the sync port.
- Just hold it. On a static studio setup you can set the trigger down next to you — it only needs the cable to the camera and a clear radio path to the lights.
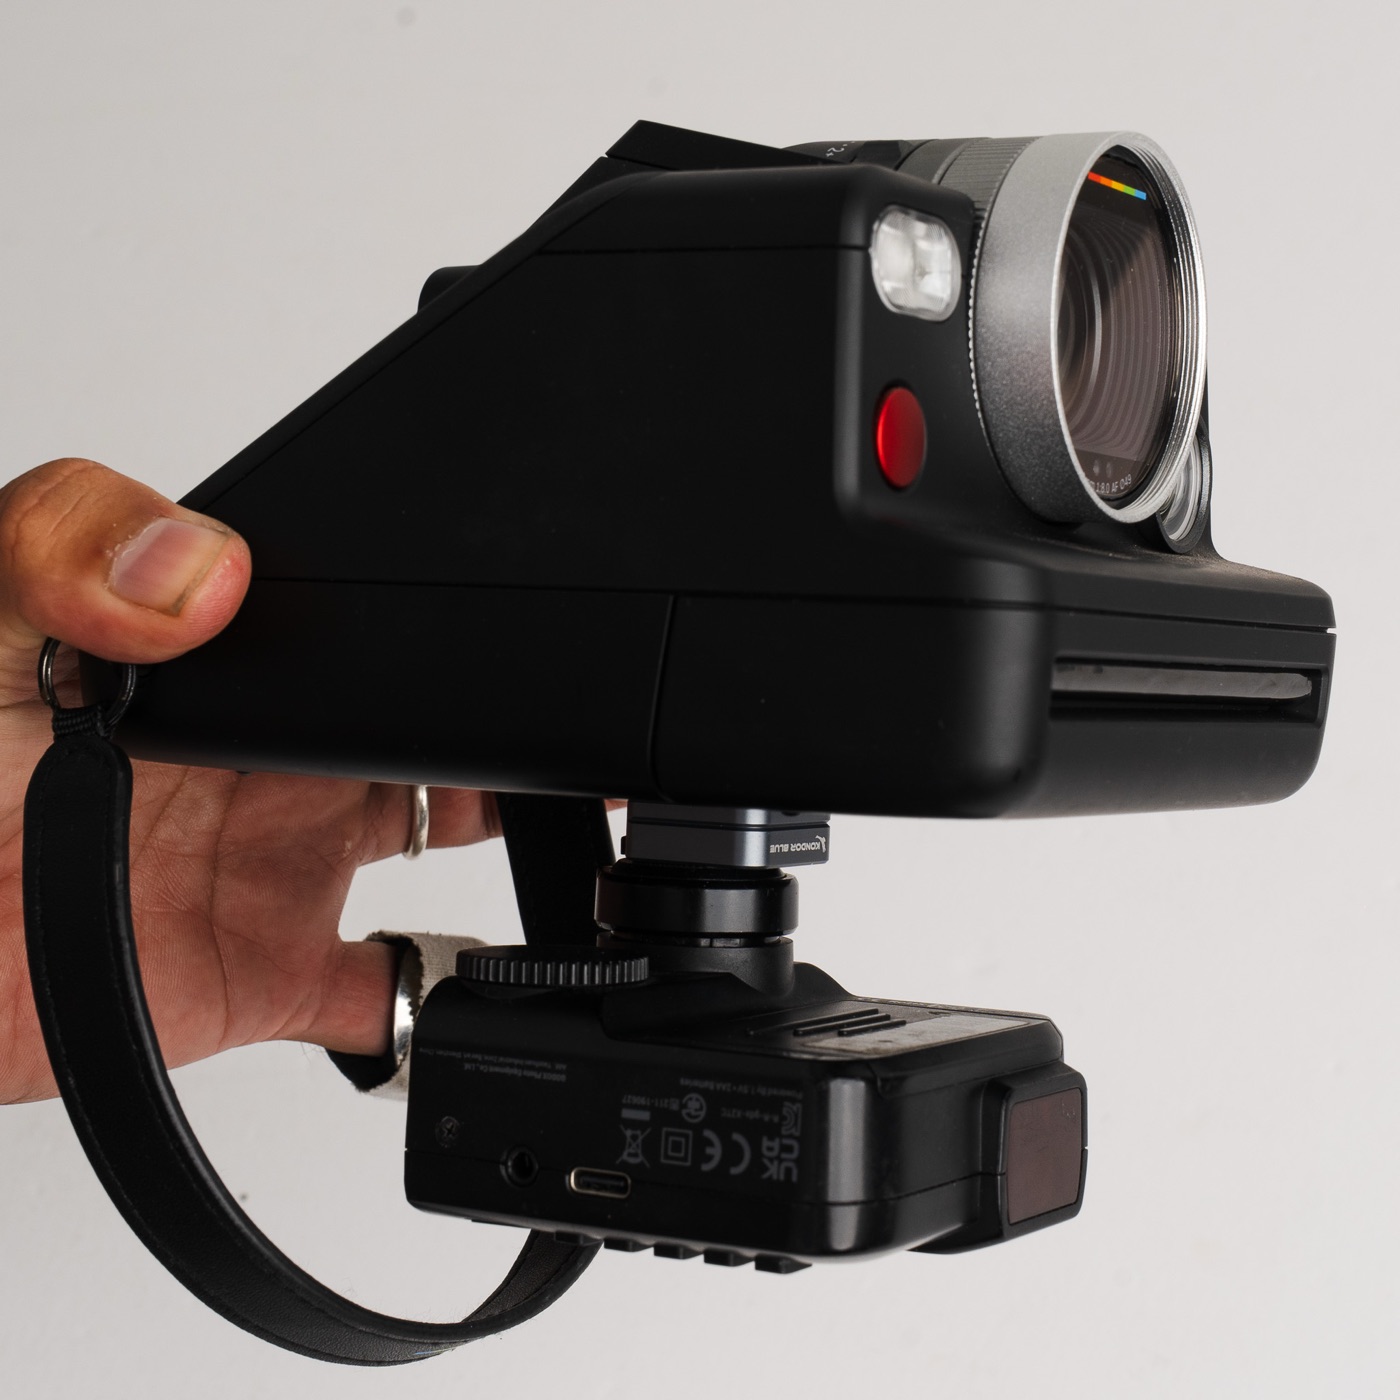
Set the trigger to manual fire on the same channel and group as your strobes, and hit its test button once to confirm the lights pop before the camera is anywhere near your face.
Camera settings on the I-2
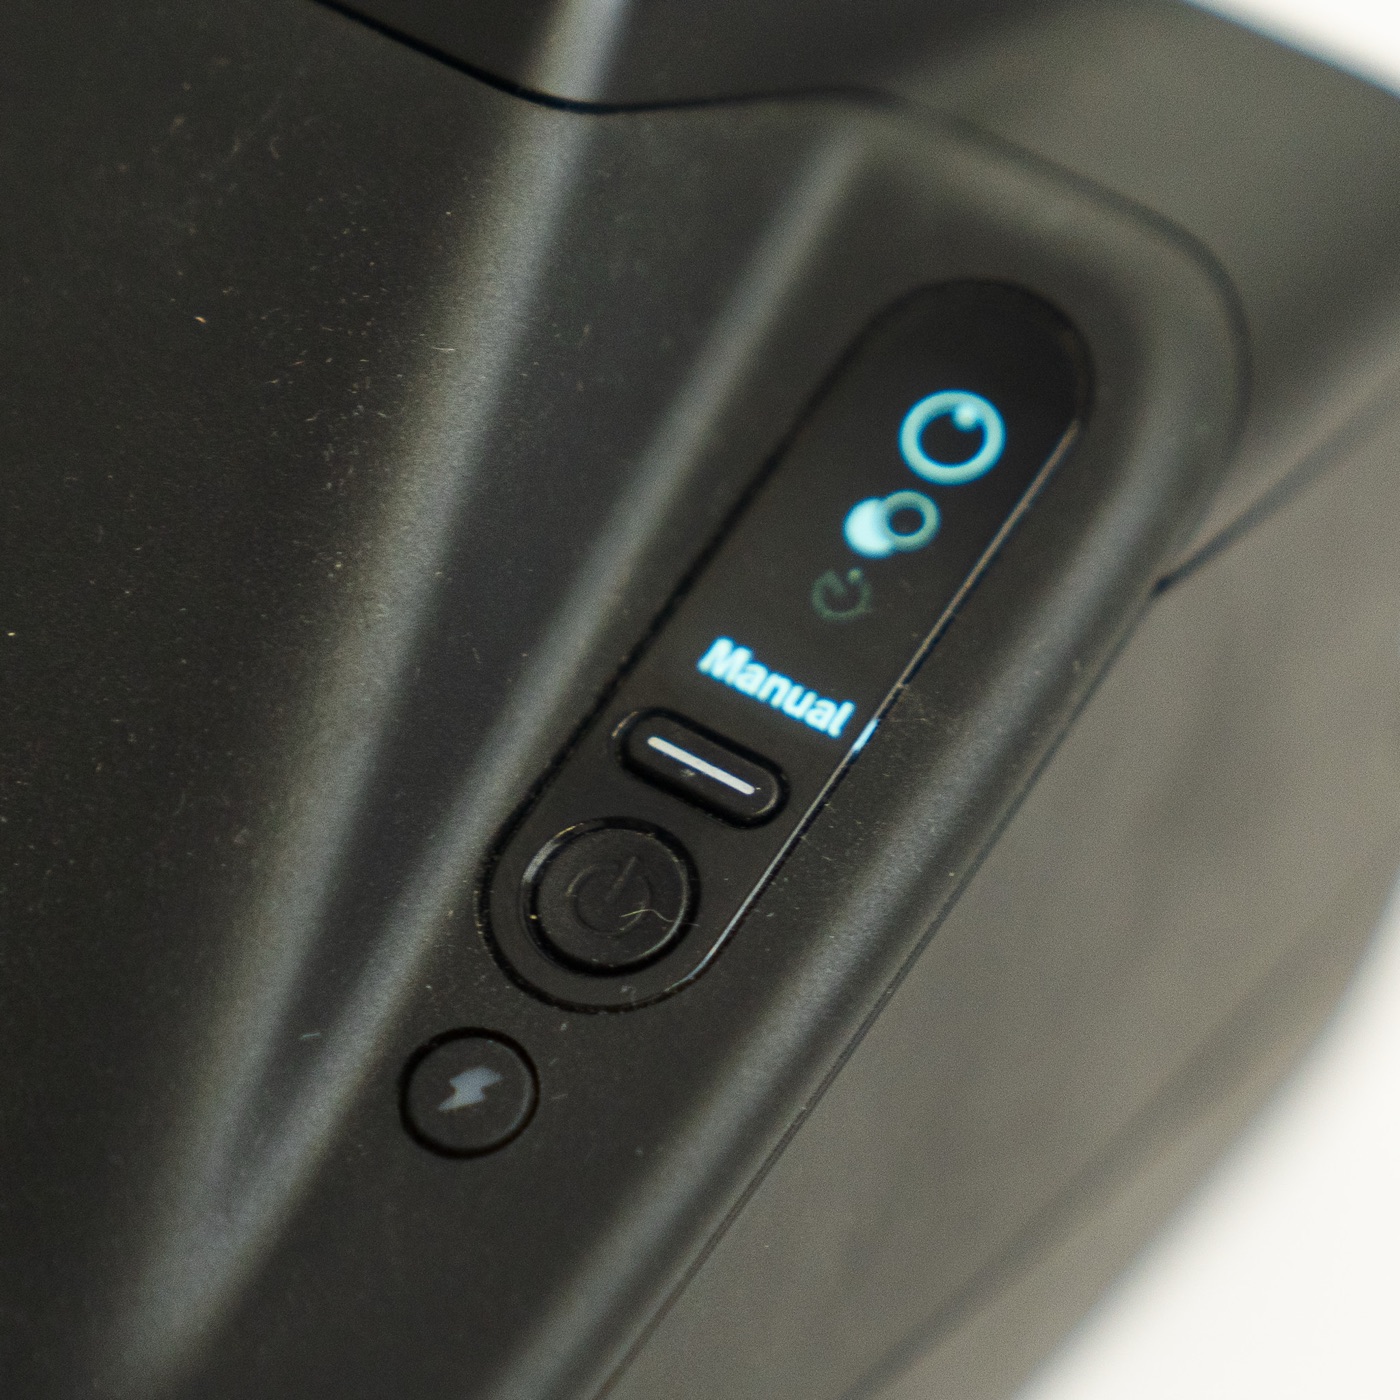
- Mode: Manual. Press the mode button until the top screen reads Manual.
- Aperture: f/8. This is also the aperture we meter at on the digital camera — see the next section.
- Shutter: 1/250 s to 30 s, plus Bulb. 1/250 s is the fastest speed and the flash-sync ceiling. Slower speeds just let in more ambient / modeling light. In a dark studio, start at 1/250 s.
- Built-in flash: off. Press the lightning button until the flash-off icon shows, or the pop-up adds its own light on top of the strobes.
- Focus: rangefinder patch or the distance scale, as normal.
Metering with a digital camera
Instant film is too expensive to bracket, so we don't. We meter every setup on a digital camera first, because the numbers line up:
Set the digital body to Manual, ISO 640, f/8. ISO 640 is the rated speed of Polaroid 600 / i-Type film, and f/8 is the aperture we're shooting on the I-2 — so a frame that's exposed correctly on the digital camera is exposed correctly on the pack.
- Fire the same strobes from the digital camera — a second trigger on its hot shoe, or the same radio channel.
- Shoot a test frame. Adjust shutter speed and strobe power until it looks right, watching the highlights on the histogram rather than the rear screen.
- Carry that shutter speed to the I-2 and keep f/8. If the winning speed was faster than 1/250 s, set 1/250 s and drop the strobe power until the digital looks right there instead.
- Shoot the Polaroid. Fine-tune from there with the I-2's exposure-compensation dial, one notch at a time, judging the print.
Quick reference
| Camera | Mode | ISO | Aperture | Shutter | Flash |
|---|---|---|---|---|---|
| Digital meter body | Manual | 640 | f/8 | Dial it in on a test frame | Same strobes, same channel |
| Polaroid I-2 | Manual | Fixed (film) | f/8 | Copy from the test (≤ 1/250 s) | Built-in off; strobes via sync cable |
Cable: 2.5 mm to the camera, 3.5 mm to the trigger. Trigger on a bracket or in hand. Built-in flash off. Then meter, copy, shoot, and adjust on the comp dial.
Polaroid I-2 flash FAQ
A 2.5 mm-to-3.5 mm mono sync cable, with the 2.5 mm end in the camera. The I-2's flash sync port is a 2.5 mm jack; most flash triggers have a 3.5 mm sync port. Check your trigger — a few newer models use 2.5 mm, in which case you want a 2.5-to-2.5 mm cable instead.
No hot shoe. It has a 2.5 mm flash sync port on the bottom edge next to the USB-C. You fire an external flash or a wireless trigger from that port with a sync cable, and mount the trigger on a bracket in the tripod socket since there's nowhere on top to put it.
Its fastest shutter speed is 1/250 s, and because it uses a leaf shutter it syncs with flash at every speed up to that. You can go as slow as 30 seconds, plus Bulb, to bring in ambient light.
Not over the sync port — it's a dumb trigger connection. The camera has to be in Manual mode and the strobes set to manual power. That's why we meter on a digital camera first: it's the fastest way to get a manual exposure right without wasting film.